
The website widget is the most common channel — it adds a chat bubble to your website that visitors can click to talk to your agent.
Creating the channel
Go to your agent → Channels tab → Add Channel → Website Widget.
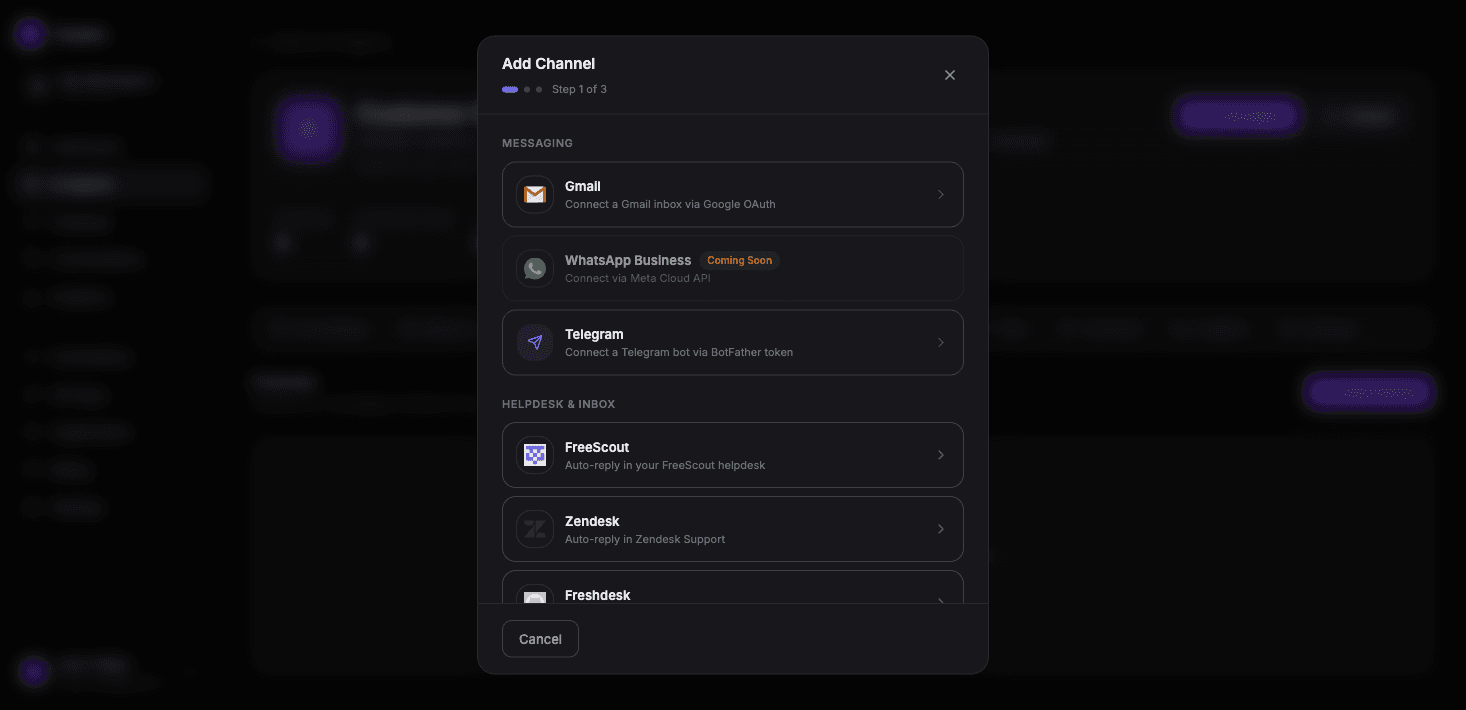
Channel name — give it a name like "Main Website Chat" or "Help Widget". This is just for your reference.
Default AI Agent — already set to the current agent. You can change this if you want a different agent handling this channel.
Reply mode:
- Auto-reply — the agent responds immediately. Best for most setups.
- Draft — responses are held and must be approved by a human before sending. Good if you want oversight before going fully automated.
Click Add Channel. The channel is created and you'll see a confirmation.
Getting the embed code
Once the channel is created, click the Embed button at the top of the agent page (not inside the channel settings — it's on the main agent header).
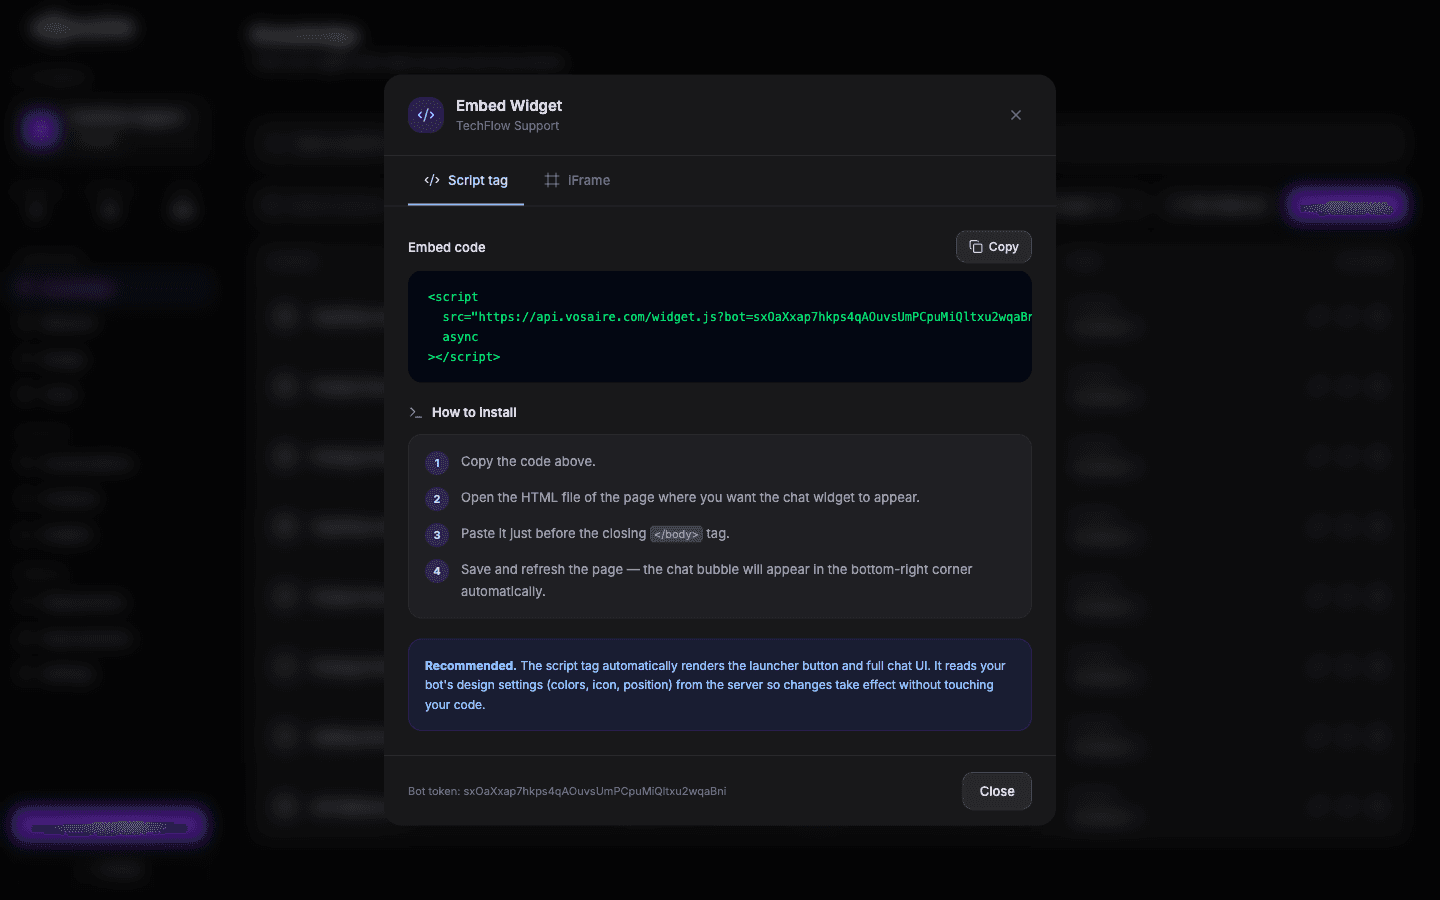
Copy the <script> tag shown. This is unique to your agent.
Adding it to your website
Paste the script tag into your website's HTML, just before the closing </body> tag. The widget will appear immediately — no page reload needed in development, and it'll be live on production as soon as you deploy.
WordPress — go to Appearance → Theme Editor → footer.php and paste before </body>. Or use a plugin like Insert Headers and Footers.
Shopify — go to Online Store → Themes → Edit Code → theme.liquid and paste before </body>.
Webflow — go to Project Settings → Custom Code → Footer Code and paste there.
Wix — add a custom HTML element via the editor and paste the script.
Squarespace — go to Settings → Advanced → Code Injection → Footer and paste there.
Most other platforms have a similar "custom code" or "footer scripts" setting. If you're not sure where to put it, searching "[platform name] add custom javascript" will find the right place.
Testing the widget
After adding the script, open your website in a browser. You should see a chat bubble in the corner. Click it and send a test message to confirm the agent responds.
If the widget doesn't appear, check:
- The script is pasted before
</body>, not in the<head>section - There are no JavaScript errors in the browser console
- Your ad blocker or privacy extension isn't blocking it (test in incognito mode)
Customizing the widget appearance
Everything visual is controlled from the Design tab of your agent — colors, position, themes, launcher style, teaser message, etc. See Customizing the chat widget design for details.