
An agent is the core of Vosaire — it's what talks to your customers. Creating one takes about 30 seconds; getting it to answer well takes a bit longer but nothing complicated.
Creating a new agent
Go to AI Agents in the sidebar and click + New AI Agent.
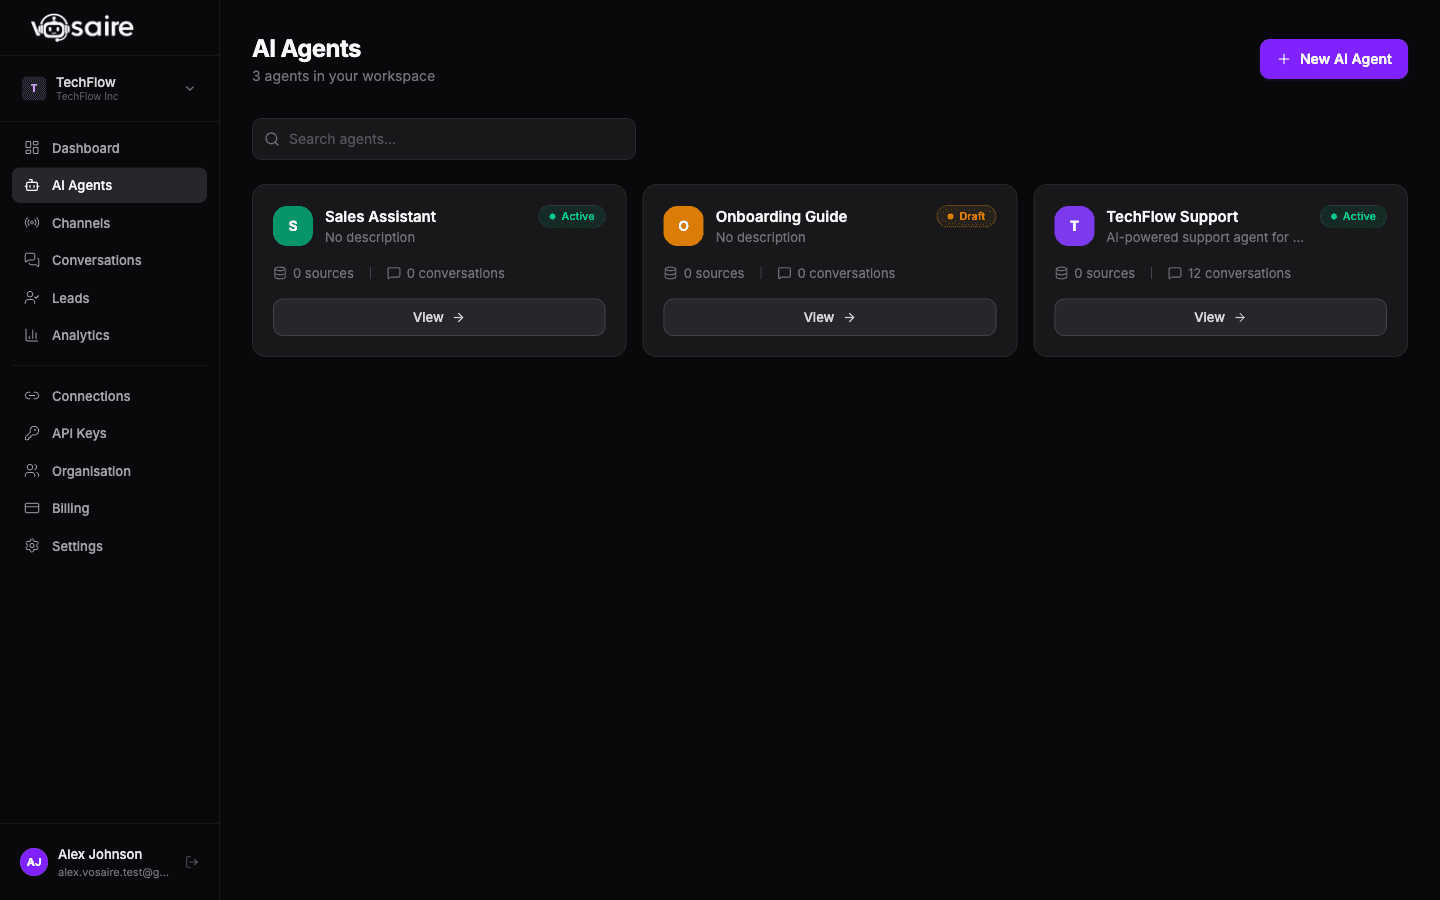
You'll see a simple form:
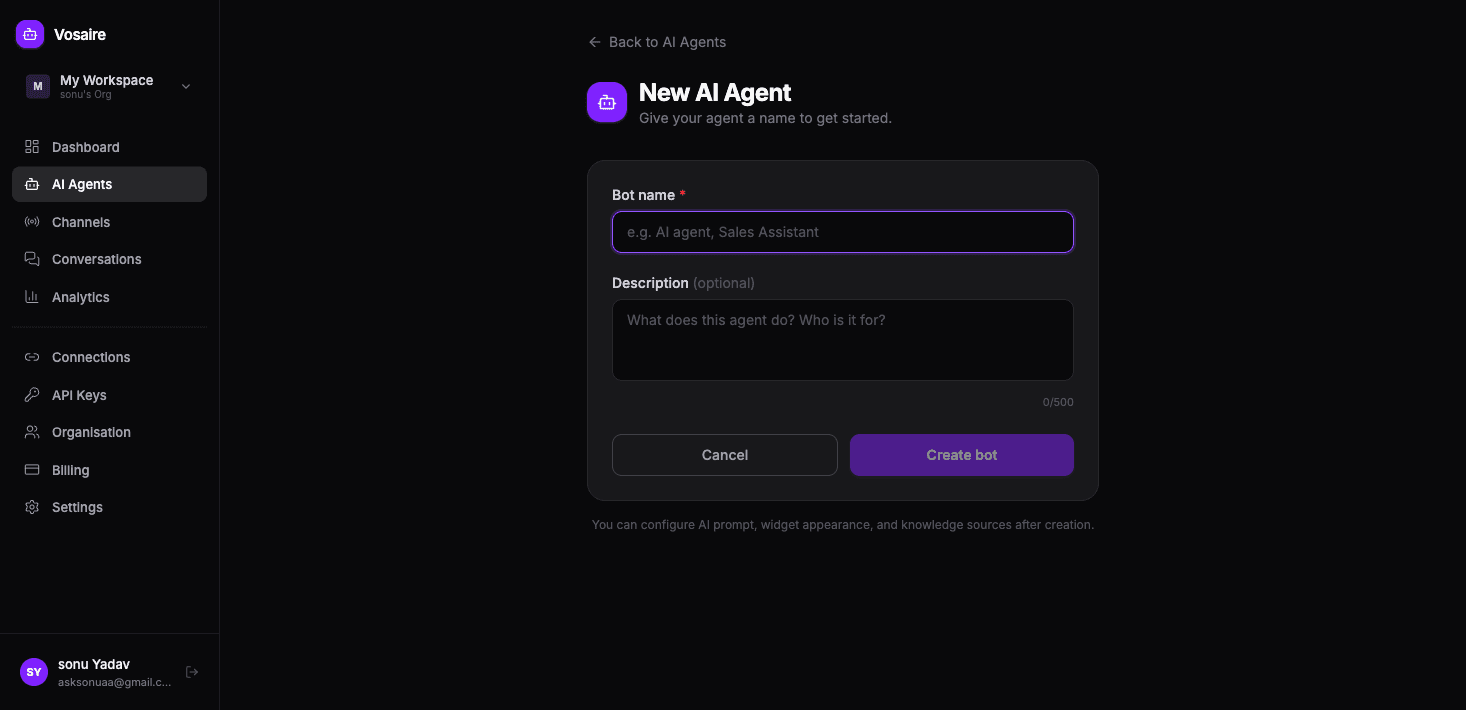
Agent name — give it a clear name. This shows up internally in your dashboard and in the chat widget header (unless you change the design). Something like "Customer Support", "Sales Assistant", or your company name works well.
Description — optional, but useful if you have multiple agents. Helps you remember what this agent is for when you're looking at a list of them.
Click Create Agent and you'll land on the agent detail page.
The agent detail page
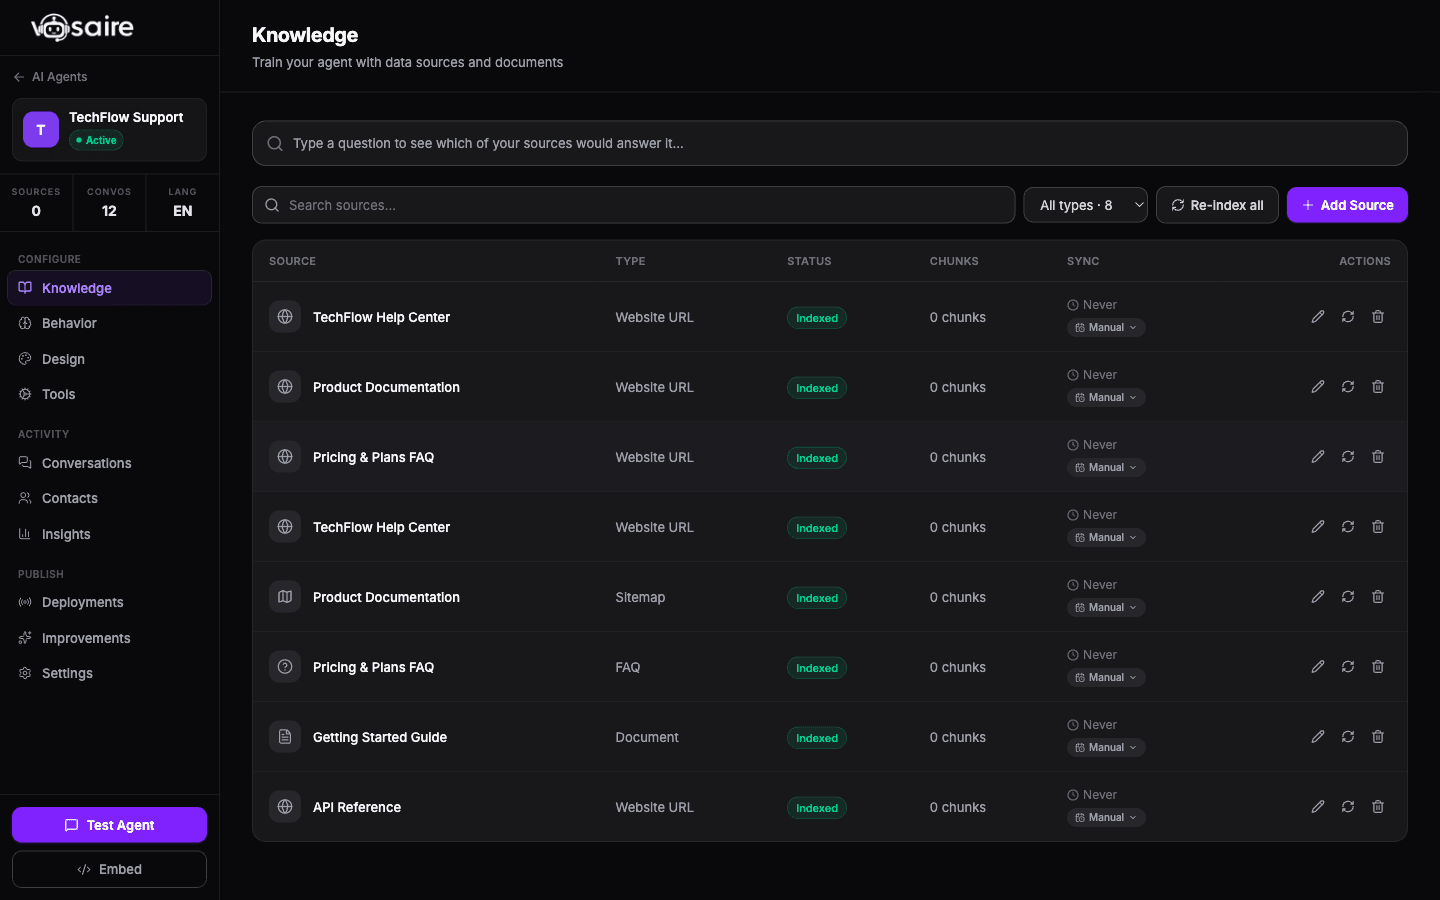
The top card shows your agent's name, status (active/inactive/draft), and a few quick stats. There are two buttons:
- Test Agent — opens a live chat window so you can talk to the agent right now
- Embed — generates the code snippet to put the agent on your website
Below that is the tab row. This is where you do everything:
| Tab | What it's for |
|---|---|
| Knowledge | Add and manage sources (the content your agent learns from) |
| Behavior | Set the agent's personality, instructions, tone, and suggested questions |
| Design | Customize the chat widget appearance |
| Tools | Connect external tools your agent can use |
| Conversations | See all conversations this agent has had |
| Channels | Connect this agent to channels (Gmail, Telegram, etc.) |
| Train | Review conversations and correct the agent's responses |
| Contacts | View leads captured by this agent |
| Insights | Agent-specific analytics |
| Settings | Name, language, and other agent-level settings |
Agent status
Every agent has a status:
- Active — live and responding to conversations
- Inactive — paused, not responding
- Draft — not yet set up
New agents start as active. You can change the status from the Settings tab.
What to do next
Right after creating an agent, the most important thing is to add knowledge sources. An agent with no sources will only give generic answers — adding your content is what makes it actually useful.
Head to the Knowledge tab and check out how to add your first source.