
Gmail is currently in Beta. To connect a Gmail inbox you'll create your own Google OAuth app in Google Cloud Console and paste the credentials into Vosaire. This takes about 10–15 minutes.
Before you start: Internal or External?
The first decision is whether to set your OAuth app as Internal or External. This determines who can authorize the app.
| Internal | External (Testing) | |
|---|---|---|
| Who can authorize | Only users inside your Google Workspace org | Any Google account you add as a test user |
| Works with @gmail.com | No | Yes |
| Works with @company.com | Yes (if Google Workspace) | Yes |
| Test user limit | None (all org members) | 100 users max |
| Google verification needed | No | No (while in testing) |
Use Internal if: You're a Google Workspace org (your team uses @yourcompany.com email) and you're only connecting inboxes at that domain.
Use External (Testing) if: You're connecting a personal @gmail.com inbox, or you're not on Google Workspace, or you need to connect inboxes across different domains.
Note: @gmail.com personal accounts cannot use Internal mode — only Google Workspace organizations support it.
Step 1 — Create a Google Cloud project
- Go to console.cloud.google.com and sign in with your Google account
- Click the project dropdown in the top navigation bar → New Project
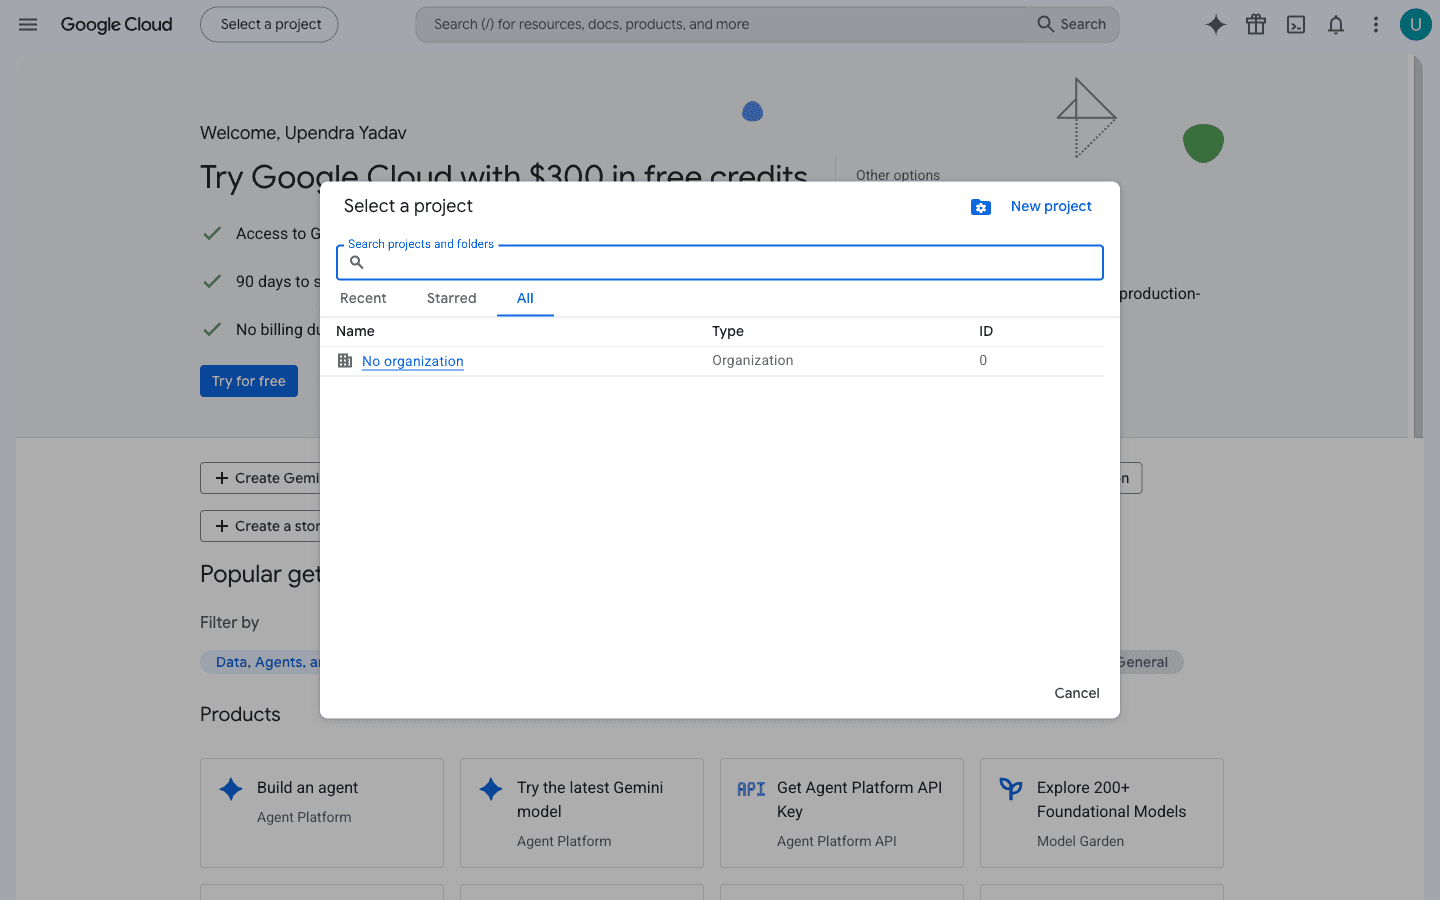
- Enter a name (e.g. "Vosaire Gmail") and click Create
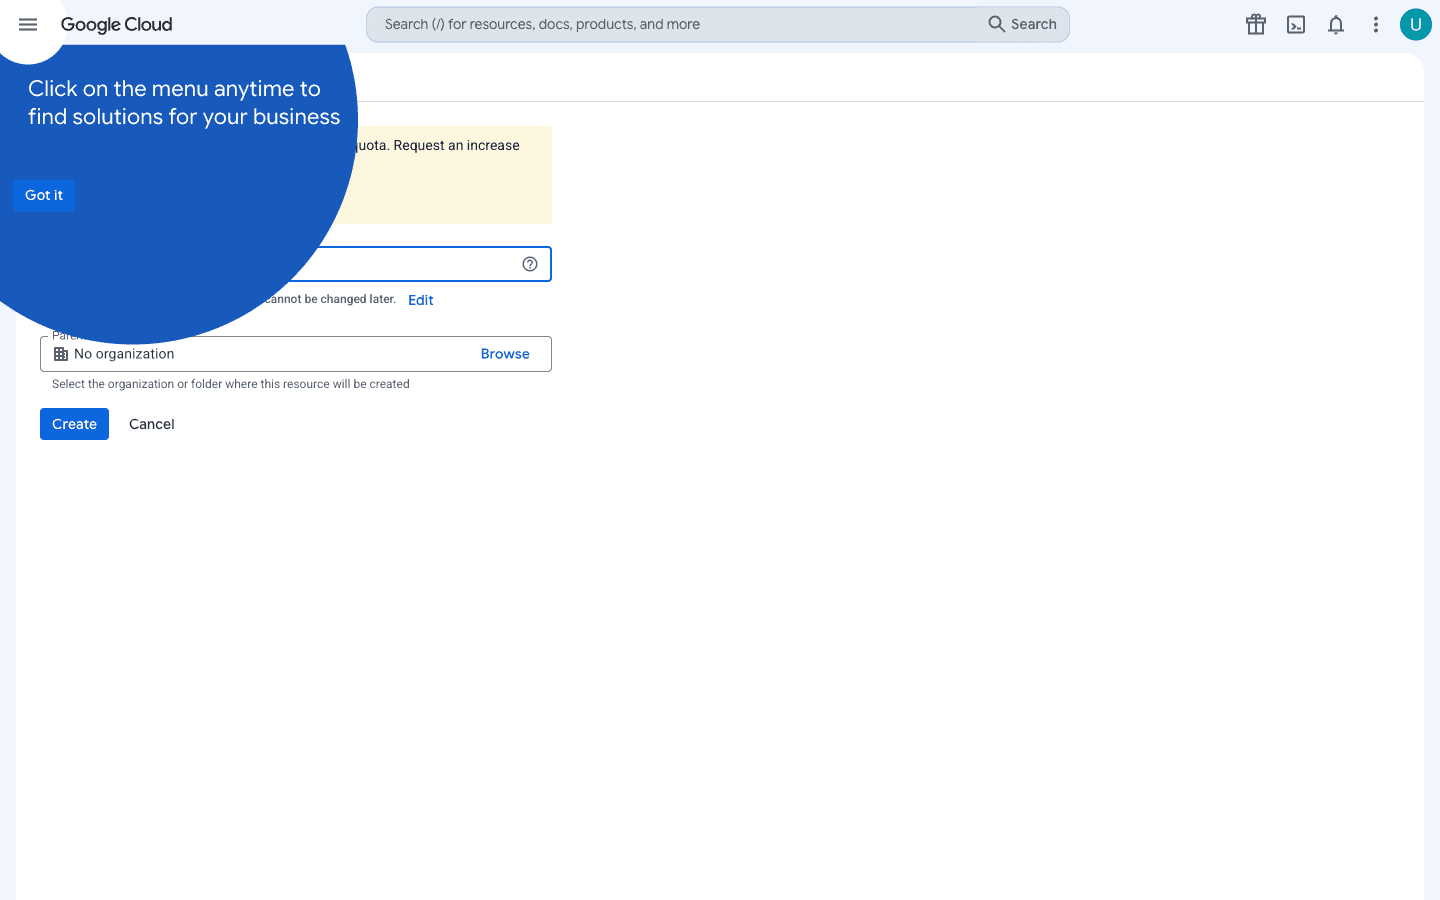
- Wait for the project to be created, then make sure it's selected in the dropdown before continuing
Step 2 — Enable the Gmail API
- In the left sidebar go to APIs & Services → Library
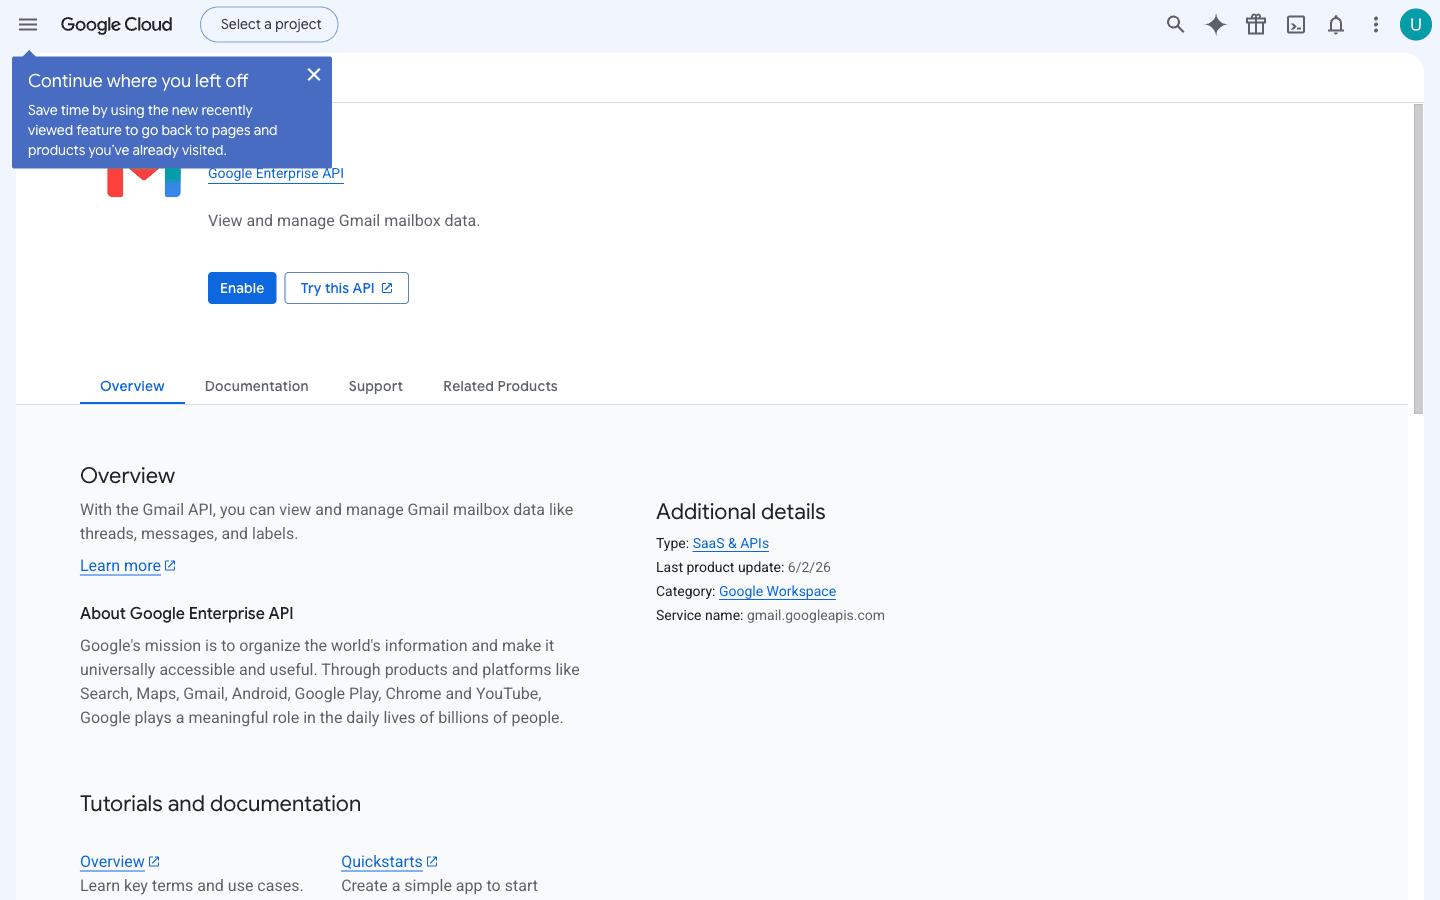
- Search for Gmail API and click on it
- Click Enable
Step 3 — Configure the OAuth consent screen
- Go to APIs & Services → OAuth consent screen
- Choose your user type:
- Internal — if you're on Google Workspace and only connecting your org's inboxes
- External — if you're connecting a @gmail.com account or need to connect inboxes outside your org
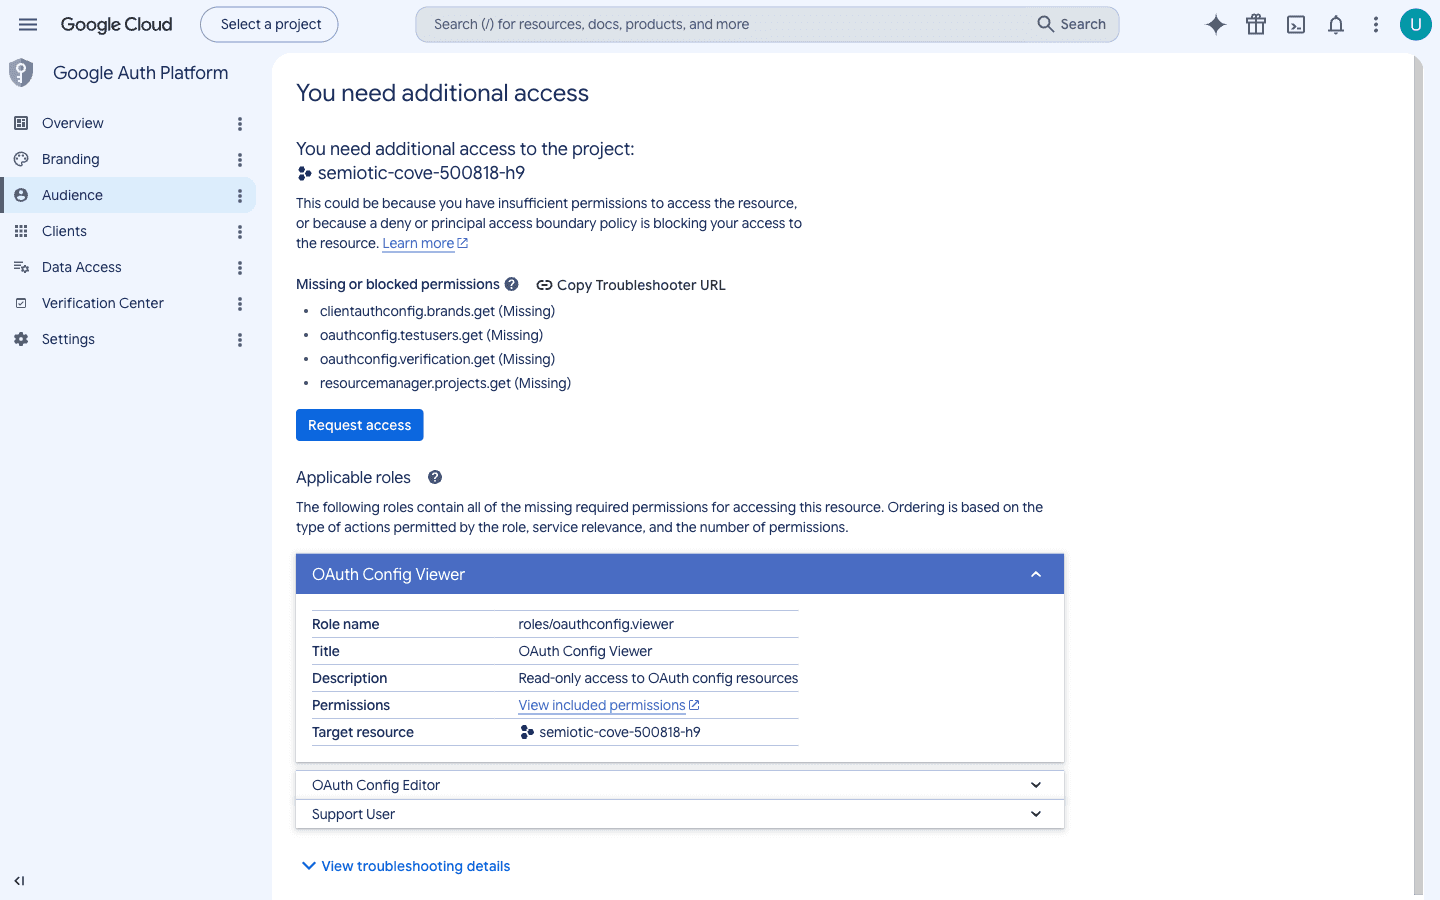
- Click Create (or Get started if it's your first project)
- Fill in the required fields:
- App name — anything descriptive (e.g. "Vosaire Support Inbox")
- User support email — your email address
- Developer contact information — your email address
- Click through the remaining steps to reach Data Access / Scopes
Add the required Gmail scopes
On the Scopes step, click Add or Remove Scopes. In the filter box, search for and select these three scopes:
| Scope | Purpose |
|---|---|
https://www.googleapis.com/auth/gmail.readonly | Read incoming emails |
https://www.googleapis.com/auth/gmail.send | Send replies |
https://www.googleapis.com/auth/gmail.modify | Create drafts, mark emails read |
Click Update to add them, then Save and Continue.
These are classified as sensitive scopes by Google. Your app will show an "unverified app" warning when users authorize it — that's expected. Click Continue past the warning. For internal use, this is fine.
- Click Save and Continue through the remaining steps (Test Users, Summary)
Step 4 — Add test users (External apps only)
If you chose External, your app starts in testing mode, which means only users you explicitly add can authorize it.
- On the Test Users step (or go back to OAuth consent screen → Test Users)
- Click + Add Users
- Add the email address of every Gmail account you want to connect to Vosaire
- Click Save
If you chose Internal: Skip this step. All users in your Google Workspace org can authorize without being added manually.
Step 5 — Create OAuth credentials
- Go to APIs & Services → Credentials
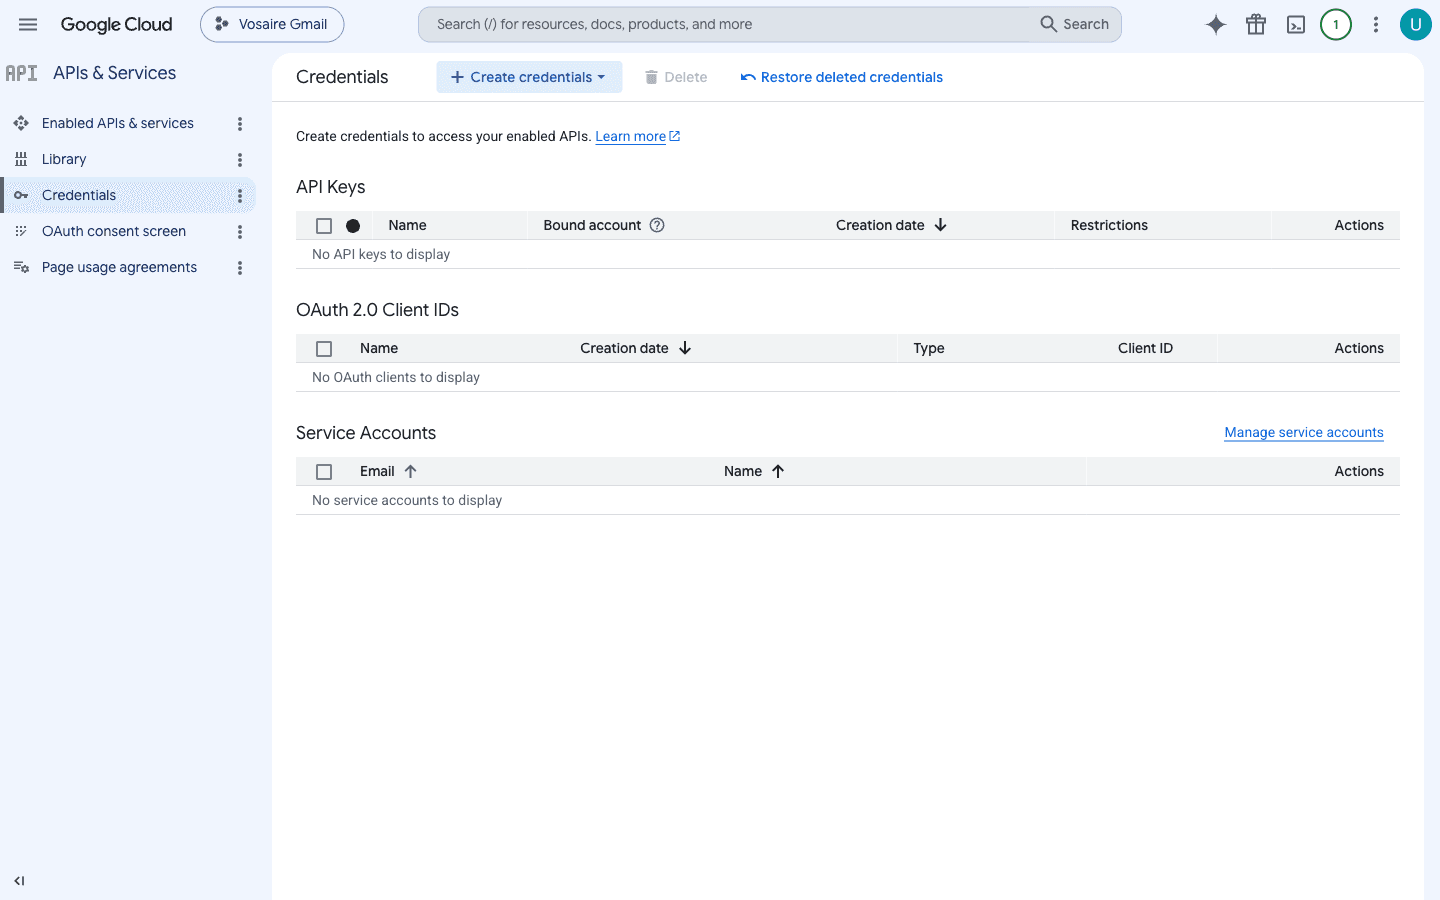
- Click + Create Credentials → OAuth client ID
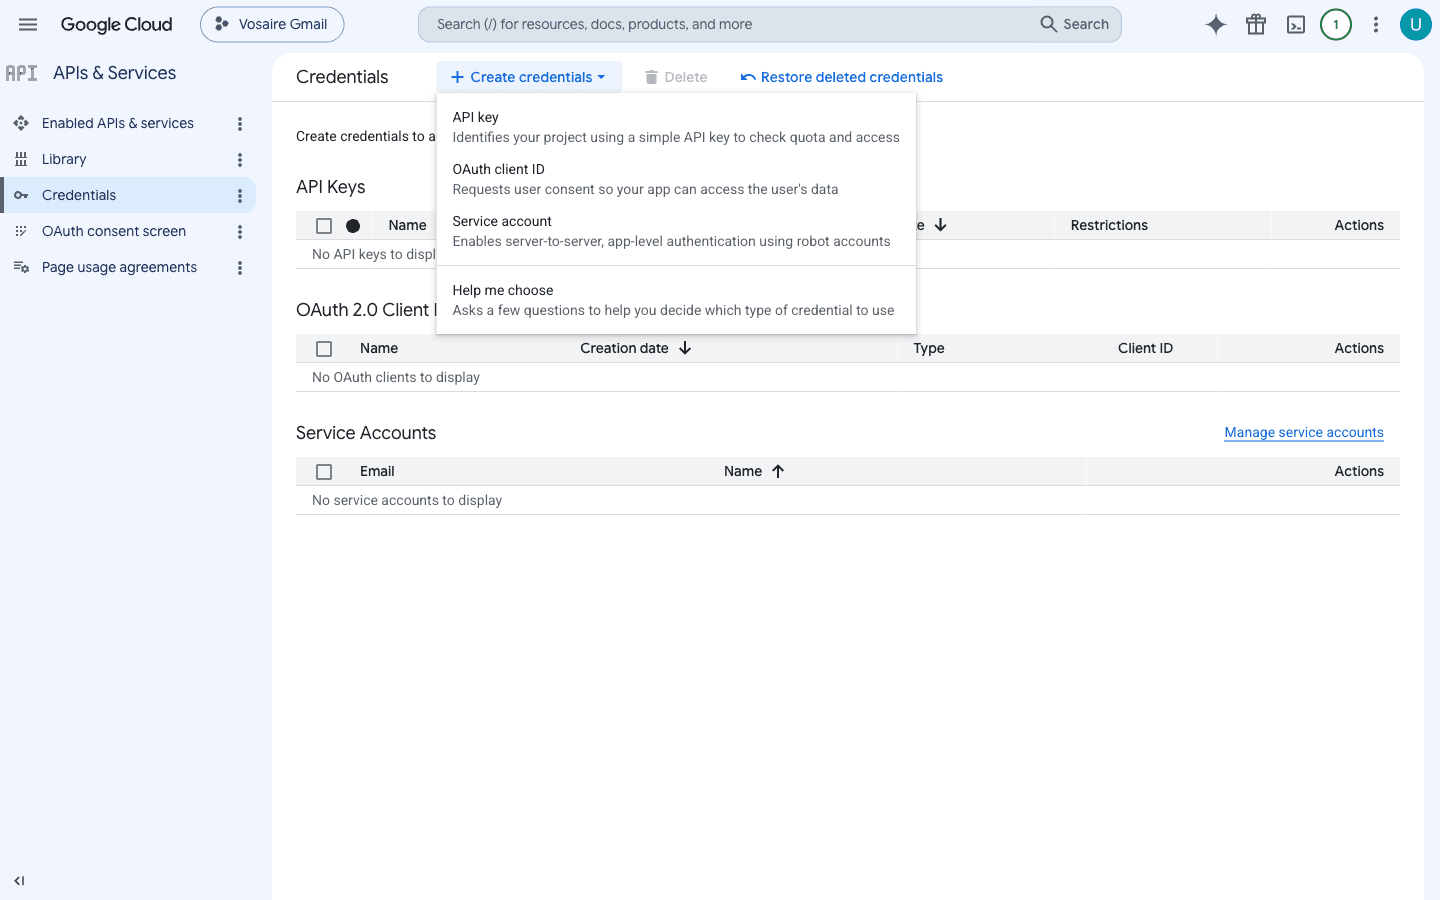
- Set Application type to Web application
- Give it a name (e.g. "Vosaire Gmail Channel")
- Under Authorized redirect URIs, click + Add URI and paste exactly:
https://api.vosaire.com/api/v1/integration-connections/oauth/gmail/callback
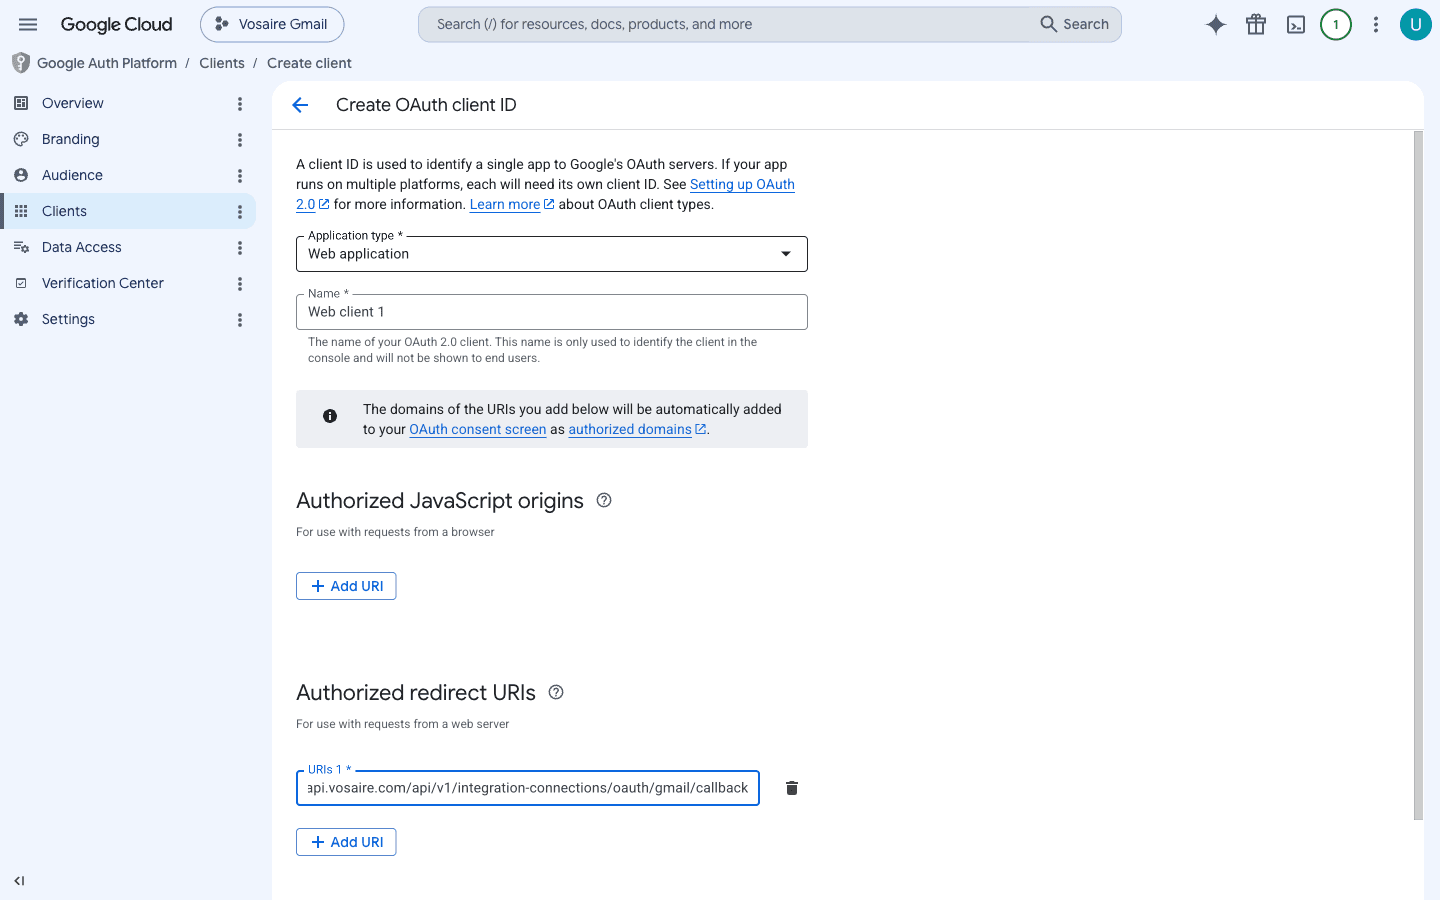
- Click Create
Google will show a dialog with your Client ID and Client Secret. Copy both — you'll need them in the next step.
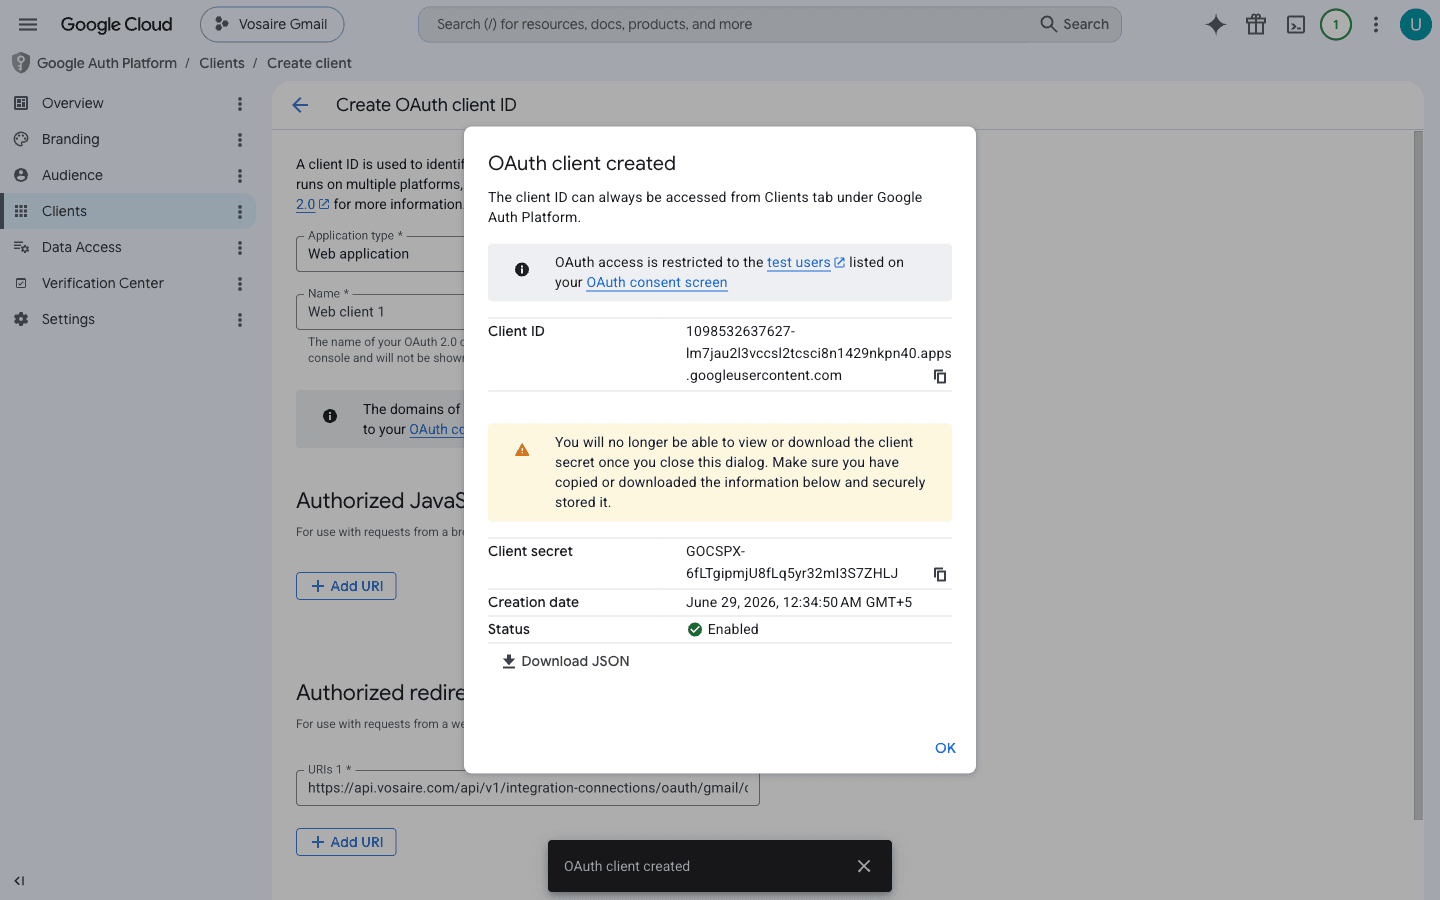
If you close this dialog without copying the secret, you can get it again from Credentials → click your OAuth client → Download JSON or view the secret inline.
Step 6 — Connect in Vosaire
- In Vosaire, go to your agent → Channels tab → Add Channel → Gmail
- You'll see the credentials form. The Authorized redirect URI is shown at the top — you already added this in Step 5.
- Paste your Client ID and Client Secret
- Click Save & Authorize with Google
- A Google sign-in popup opens. Sign in with the Gmail inbox you want to connect.
If you see "This app isn't verified": Click Advanced → Go to [your app name] (unsafe). This warning appears for unverified apps and is expected during beta. It's safe to proceed since you created this app yourself.
- Grant the requested permissions and click Allow
The popup closes and the connection is created. You'll move automatically to the channel configuration step.
What permissions does Vosaire request?
After saving your credentials, when the Google authorization popup opens, Vosaire requests:
- Read all your email messages and settings — to process incoming messages
- Send email on your behalf — to send replies in Auto mode
- Manage your email messages and settings — to create drafts (Draft mode) and mark emails as read
These are the minimum permissions needed for the Gmail channel to work.
After connecting
Configure the Gmail channel:
- Reply mode — Start with Draft mode. Your agent writes replies, you review and send. Switch to Auto-reply once you've verified quality.
- Labels to monitor — Choose which Gmail folders the agent watches (e.g. Inbox, Support)
- Skip categories — Turn on Promotions, Social, Updates, Forums to avoid replying to automated emails
- Skip no-reply senders — Recommended: prevents replies to
noreply@addresses - Polling interval — How often Vosaire checks for new emails (depends on your plan)
See Setting up a Gmail channel for the full configuration walkthrough.
Troubleshooting
"Access blocked: This app's request is invalid"
The redirect URI doesn't match. Check that you added the URI exactly as shown in Step 5 — no trailing slash, no http:// instead of https://.
"You can't sign in because this app sent an invalid request" or "Error 400" Same issue — redirect URI mismatch. In Google Cloud Console, go to Credentials → your OAuth client and verify the redirect URI.
"This app is blocked" Your OAuth app is in External mode and the email you're signing in with hasn't been added as a test user. Go to OAuth consent screen → Test Users and add it.
"This app isn't verified" Expected warning for unverified apps. Click Advanced → Go to [app name] (unsafe) to continue. This is safe since you created the app.
Connection stops working after it was working Gmail tokens expire if unused, or can be revoked if you change your Google account password or revoke access at myaccount.google.com/permissions. Delete the connection in Vosaire and re-add it with the same credentials to reconnect.