
This guide gets you from a blank account to a working AI agent embedded on your website. If you follow along, you'll be done in about five minutes.
Step 1 — Create an agent
From the sidebar, click AI Agents, then + New AI Agent.
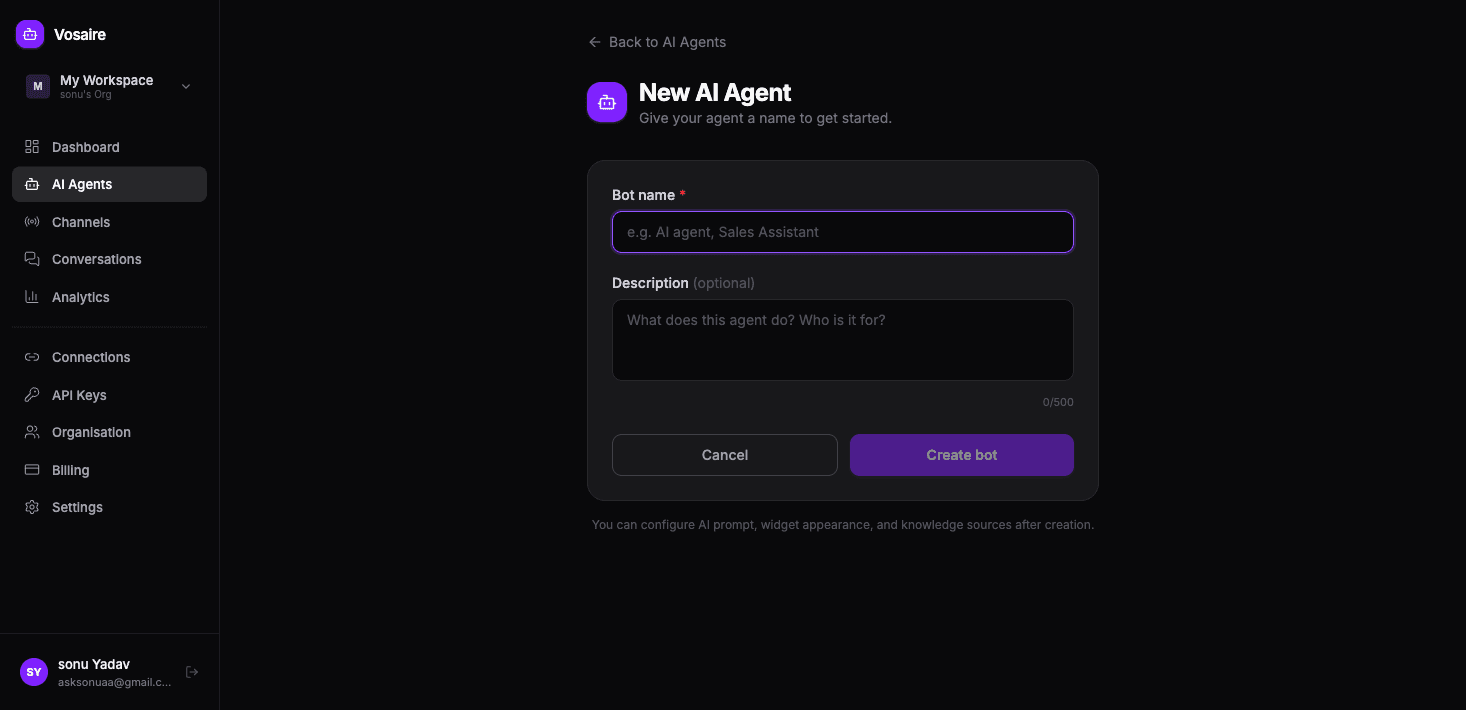
Give your agent a name — something like "Support AI Agent" or your company name works fine. The description is optional. Hit Create Agent.
You'll land on the agent's detail page with a row of tabs across the top.
Step 2 — Add a source
Click the Knowledge tab. This is where you teach your agent what to know.
Click Add Source and select Website URL.
Paste in the URL of your homepage, a help page, or a product page. Click Fetch to preview what Vosaire will index, then Add Source to confirm.
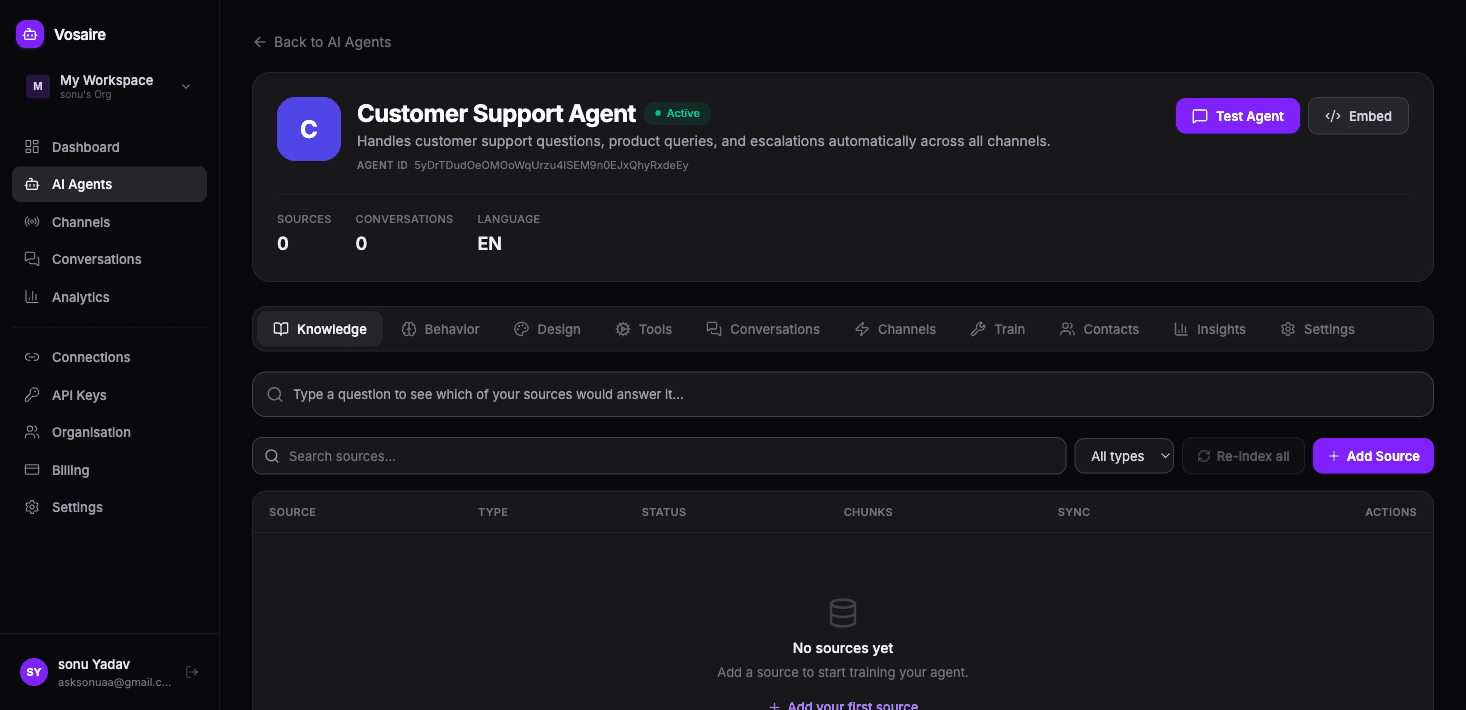
The source will go into "Processing" status for a moment while Vosaire reads and indexes the content. Once it shows "Indexed", your agent knows everything on that page.
Add a few more sources for better results — the more content you give it, the more questions it can answer confidently. A few good starting points:
- Your FAQ or help center URL
- A sitemap (if you have one) — this indexes your whole site at once
- Any PDF documentation you have
Step 3 — Test the agent
Click the Test Agent button in the top right of the agent page. A chat window opens. Ask it a question that's covered by the content you just added.
If it answers well, you're ready to embed. If it's off, it usually means the source content doesn't cover the topic clearly — add more sources or add a FAQ entry that directly answers the question.
Step 4 — Get the embed code
Click the Embed button next to Test Agent.
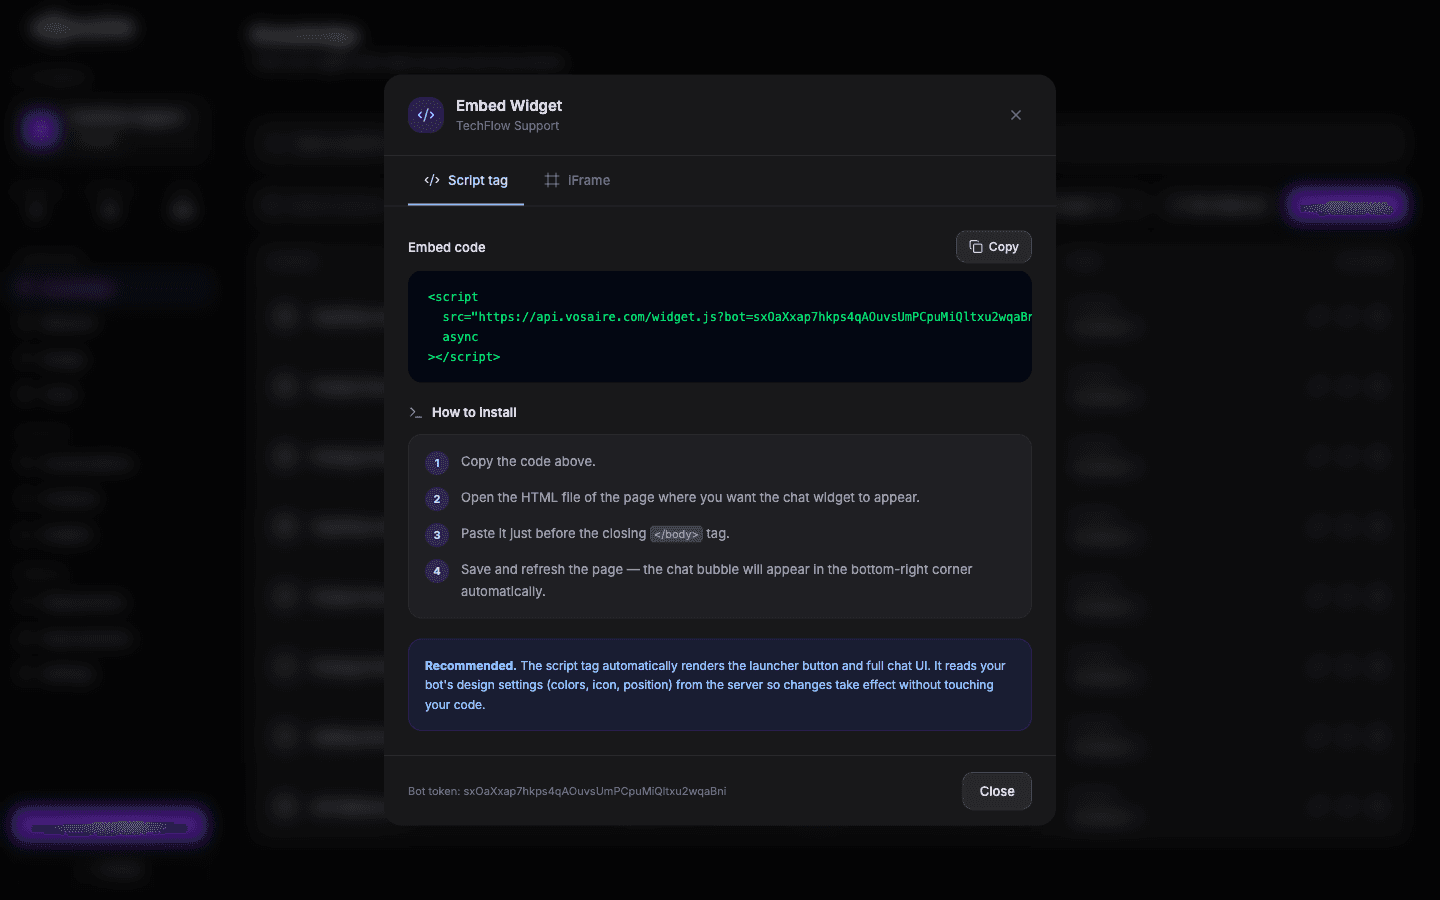
Copy the <script> tag and paste it into your website's HTML, just before the closing </body> tag. That's it — the chat widget will appear on your site.
If you're on WordPress, Shopify, Webflow, or similar, there's usually a "custom code" section in settings where you can paste it. Most platforms take less than a minute.
What's next
You've got a working agent. From here, the most useful next steps:
- Add more sources to improve the quality of answers
- Customize the widget design (colors, avatar, launcher text) from the Design tab
- Set up a Gmail channel if you want the agent to handle email too
- Invite your team from the Organisation settings page